The Genius Drive Revamp Project
(OR Creating a VistaPE USB bootable
thumb drive with PGP by Varun Tansuwan)
II. Virtual Machine Setup
This
guide assumes all building is done in a Windows XP Pro SP3 32-bit
Virtual Machine. This assures that the environment being built within
is clean and that the resources being compiled are clean. It also helps
isolate build problems. If you prefer to do this under your native
primary OS feel free to do so. Just note things may not work as
smoothly. If you are using Vista 32/64-bit or Windows 7 32/64-bit, you
may need to adjust or run things in compatibility/admin mode to be able
to build properly.
a.
Microsoft Virtual PC 2007 (You can use VMWare or Virtual Box etc.
if you prefer, but these instructions are for MS Virtual PC 2007)
1.
The Virtual environment this guide is created under is Microsoft
Virtual PC 2007 SP1. You can download this and it will work under
Windows XP, Windows Vista, and Windows 7.
2.
Install it and begin
configuring it. Run the software and at the Virtual PC Console click
the New button.
3.
Click Next then select
Create a Virtual Machine then hit Next again.
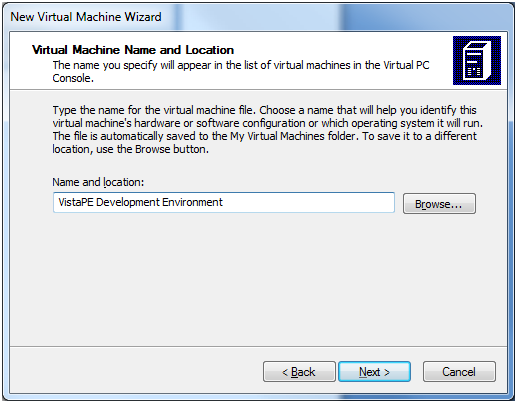
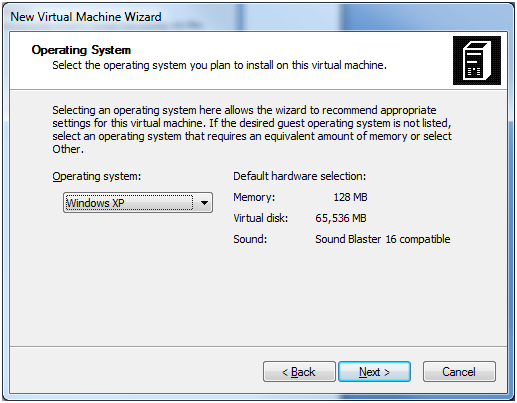
4.
Name it appropriately and
hit Next. Select Windows XP Operating system and hit Next.
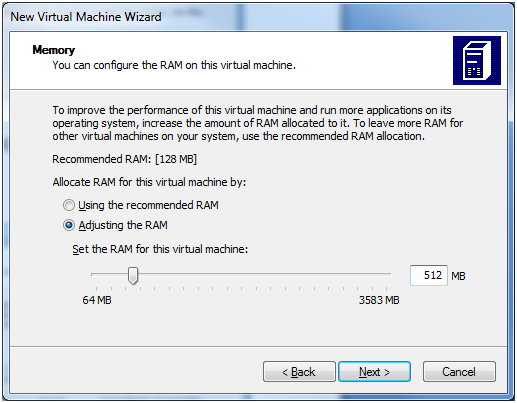
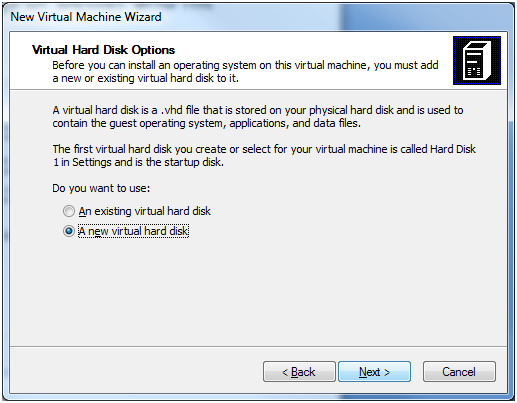
5.
Select Adjusting the RAM and
make it 512 megs or better and hit Next. Select A New Virtual Hard Disk
and hit Next.
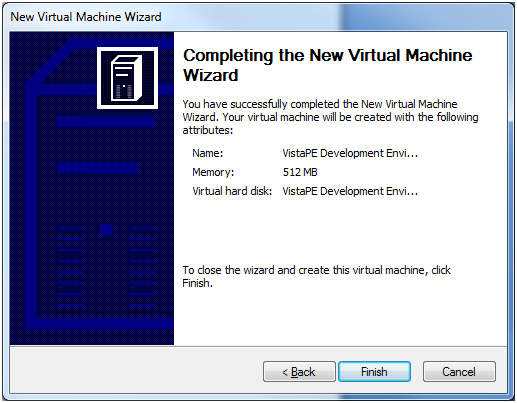
6.
You can hit Next then Finish here or adjust the Virtual Hard disk size
(I suggest a minimum of 20 gigabytes).
7.
Select your Virtual Machine and hit
the Start Button. Immediately hit Right Alt+P keys to Pause. Then open
the CD Menu and choose Capture ISO image, and then browse to and select
your Windows XP SP3 iso image file. OR Use Physical Drive (select
appropriate drive letter and put in the Windows XP Pro SP2+
installation CD). If it doesn’t boot to the CD image or
Physical Drive, go ahead and click Action then select Reset to reboot
the Virtual Machine.
Very
helpful hint: Hitting the right-alt key will allow you to unlock
the mouse cursor from the virtual machine.
8.
Hopefully you will be greeted with
a familiar screen. Continue setting things up as you normally would for
a clean Windows XP Pro installation. Installing Hotfixes, anti-virus
etc.
9.
Install Virtual Machine Additions by
clicking Action (in the upper left) then Install/Update Virtual Machine
Additions. Just follow the steps until it is done installing and
restart the Virtual Machine. This will allow you to move your mouse
cursor seamlessly between Virtual PC window and main OS. It also allows
for more sharing of resources between the two.

10.
Setup Networking by going to Edit then
Settings then Select Networking and set Adapter 1 to Shared Networking
(NAT). You can also setup Network sharing here so that you have a way
to transfer files into and out of the Virtual Machine.
At this point the Virtual PC should be ready for starting the next step.
Last Update 07-27-2009